While not quite the same as putting your face in the hands of a talented esthetician, giving yourself a DIY facial at home can do wonders for your skin (and your mood!)

Sure, a facial isn’t really a facial unless you’re lying down, having delicious creams spread all over your face with sounds of a distant seashore in the background. But now that we don’t have access to any professional treatments while social distancing, a DIY facial at home is your best bet to snap out of the dull skin situation!
Related: 5 Face Masks I’m Loving Right Now
As I’ve mentioned before, my skincare routine has become a form of self-care during these stressful times. And what’s better than a DIY facial at home for some serious self-pampering!
I’ve been doing it once every 2-3 weeks when my skin needs a pick-me-up. Not only does this bi-weekly facial leave my skin glowy and super-smooth but also perks up my mood and helps me feel calm & relaxed (much-needed these days!)

How to DIY your own facial at home
Treating yourself to a DIY facial at home is actually easier than you think! Here’s your step-by-step guide for a spa-like facial you can (and should) DIY…
Step 1: Cleanse your skin
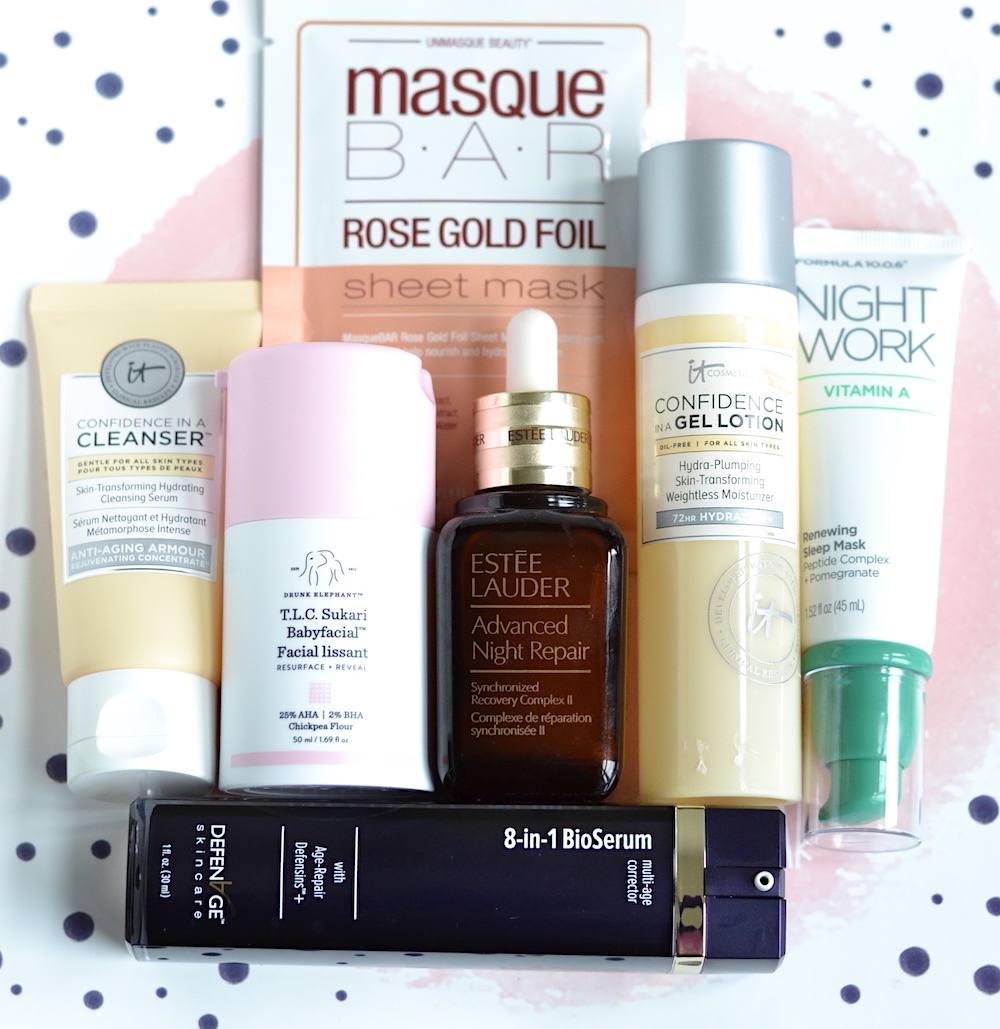
With any type of facial, you want to start with clean skin of course! Use a gentle face wash that will thoroughly cleanse your skin without leaving it dry or tight. A few of my favorites are the Aveeno Ultra-Calming Foaming Cleanser, IT Cosmetics Confidence in a Cleanser and CeraVe Foaming Facial Cleanser
Step 2: Exfoliate your skin
After cleansing, it’s time for exfoliation to slough off the dead skin build-up and excess oils so that the ingredients in your masks and serums can penetrate even deeper and you get the most out of the other steps. Use an at-home face peel that contains a blend of alpha hydroxy acids (AHAs) and beta hydroxy acids (BHAs) to exfoliate, brighten and clear out clogged pores for a fresh, glowing complexion.
Avoid any physical exfoliants like those gritty face-scrubs which can be abrasive and actually cause damage to the skin’s protective moisture barrier.

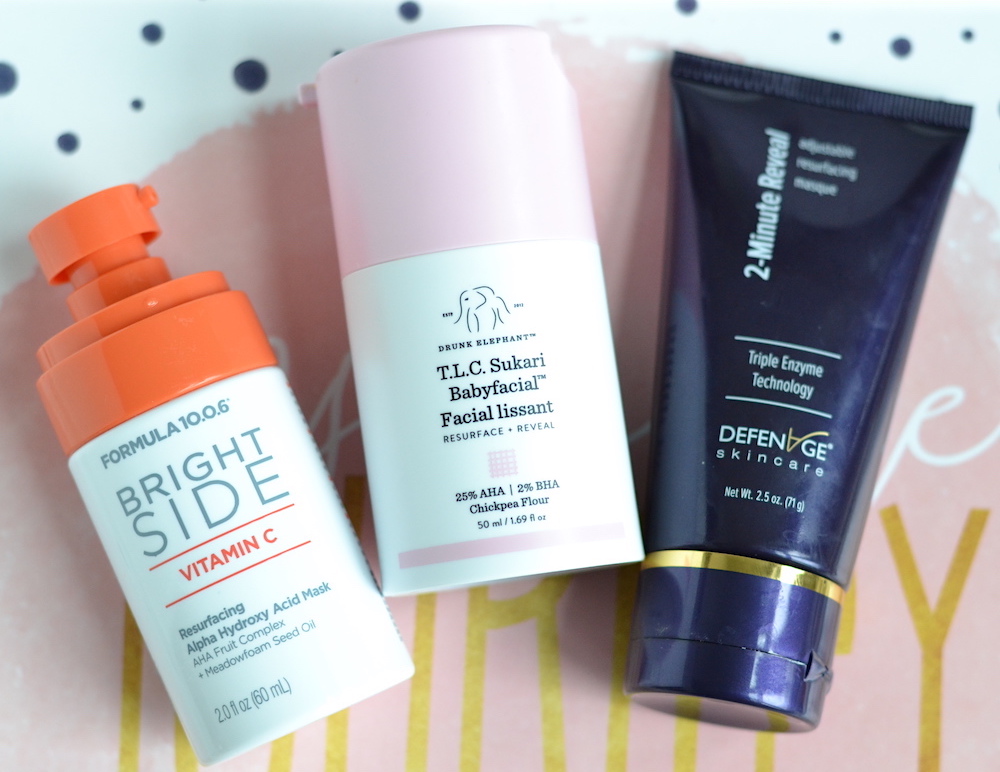
I love using Drunk Elephant Babyfacial that’s like a professional peel in a bottle! Packed with a potent dose of 25% AHAs and 2% BHA, this facial peel leaves my skin super smooth, radiant and polished. The Herbivore Prism Glow Facial and Formula 10.0.6 Bright Side Vitamin C Resurfacing Treatment are two of my other top favorites.
For those with oily and acne-prone skin, Inkey List Apple Cider Vinegar Peel is especially good and helps prevent breakouts while minimizing the appearance of pores and post-blemish scars.
Step 3: Use a hydrating mask
After exfoliation, pamper your skin by applying a mask. I love using a moisturizing mask to rejuvenate and deeply hydrate my freshly exfoliated skin. My favorite is the Farmacy Honey Potion Hydration Mask which leaves my dry skin oh-so-soft with a dewy glow! Revolution Skincare’s Honey & Oatmeal Nourish & Glow Mask also leaves skin looking radiant at an affordable price!
If you are struggling with dullness and uneven skin tone/texture, choose a brightening mask with ingredients like vitamin C and Niacinamide that help revitalize lackluster skin. I love Summer Fridays R + R Mask and St. Ives Glowing Sheet Mask
For oily and acne-prone skin, use a gentle clay-based mask like The Inkey List Kaolin Face Mask or Cetaphil Pro Purifying Clay Mask that work well to absorb excess oil and draw out debris from pores without drying out skin. The Innisfree Pore Clearing Clay Mask is another awesome and affordable pick that leaves skin smoother and refined.
Want to show your skin some extra love? Go for double masking by applying a detoxifying mask first for 10-15 minutes and then use a moisturizing mask for a healthy dose of hydration.
Step 4: Steam
This step isn’t 100 percent necessary, but it’s a nice addition while masking! If you don’t have a facial steamer, just fill a bowl with hot water and position your face over the bowl with a towel on your head. All the steam will open up your pores, so your mask can penetrate even deeper, leaving you with that bouncy, supple skin you always get from professional treatments.
Step 5: Apply your serum
Next, treat your skin with an antioxidant-rich serum that’ll soothe, heal and hydrate. My skin is on the drier side so I love using a hydrating+brightening serum for a dewy glow. Some of my favorites include Bliss Glow & Hydrate Serum , Glow Recipe Pineapple-C Brightening Serum and Ester Lauder Advanced Night Repair.
If you have oily or acne-prone skin, try Revolution Skincare 15% Niacinamide Serum that helps reduce blemishes and blackheads while improving skin tone/texture or a gentle non-irritating retinol formula like Olay Regenerist Retinol 24 Night Serum which helps control oil production, refines pores and fades acne scars.
Step 6: Moisturize and Massage
Follow up with your favorite moisturizer to seal in all the good stuff you just put on your face. You can finish off with a lightweight moisturizer or a rich cream—whatever works best for your skin type.
Two of my top favorites are IT Cosmetics Confidence in a Gel Lotion and Drunk Elephant Protini Polypeptide Cream. They are both lightweight, gel-like moisturizers that feel smoothing and hydrating but not at all heavy, and great for all skin types!
This is also a good time to give yourself a gentle facial massage that you love so much in a spa! Massage your moisturizer using gentle circular motions that’ll help boost blood circulation and lymphatic drainage.
Step 7: Lip mask
When you’re taking care of your face, don’t forget your lips. Use a hydrating lip mask or balm like Laneige Lip Sleeping Mask or the new Pacifica Lavender Moon Lip Treatment to pamper your pout.
Sit back and relax
That’s it, you’re done! You can also add a spa-like vibe to your DIY facial at home by creating an ambiance with whatever makes you feel calm, whether it be candles, music, essential oil diffuser or all of that! And a glass of wine would be nice too!
Now, go ahead and schedule in your spa day at home and reduce that anxiety from ten to zen in no time!


Leave a Reply